Broken Track
For one day in June the temperatures rose above 30 degrees and caused the track to expand, breaking a fishplate. At the start of July I fixed it giving a much smoother ride for the passengers.
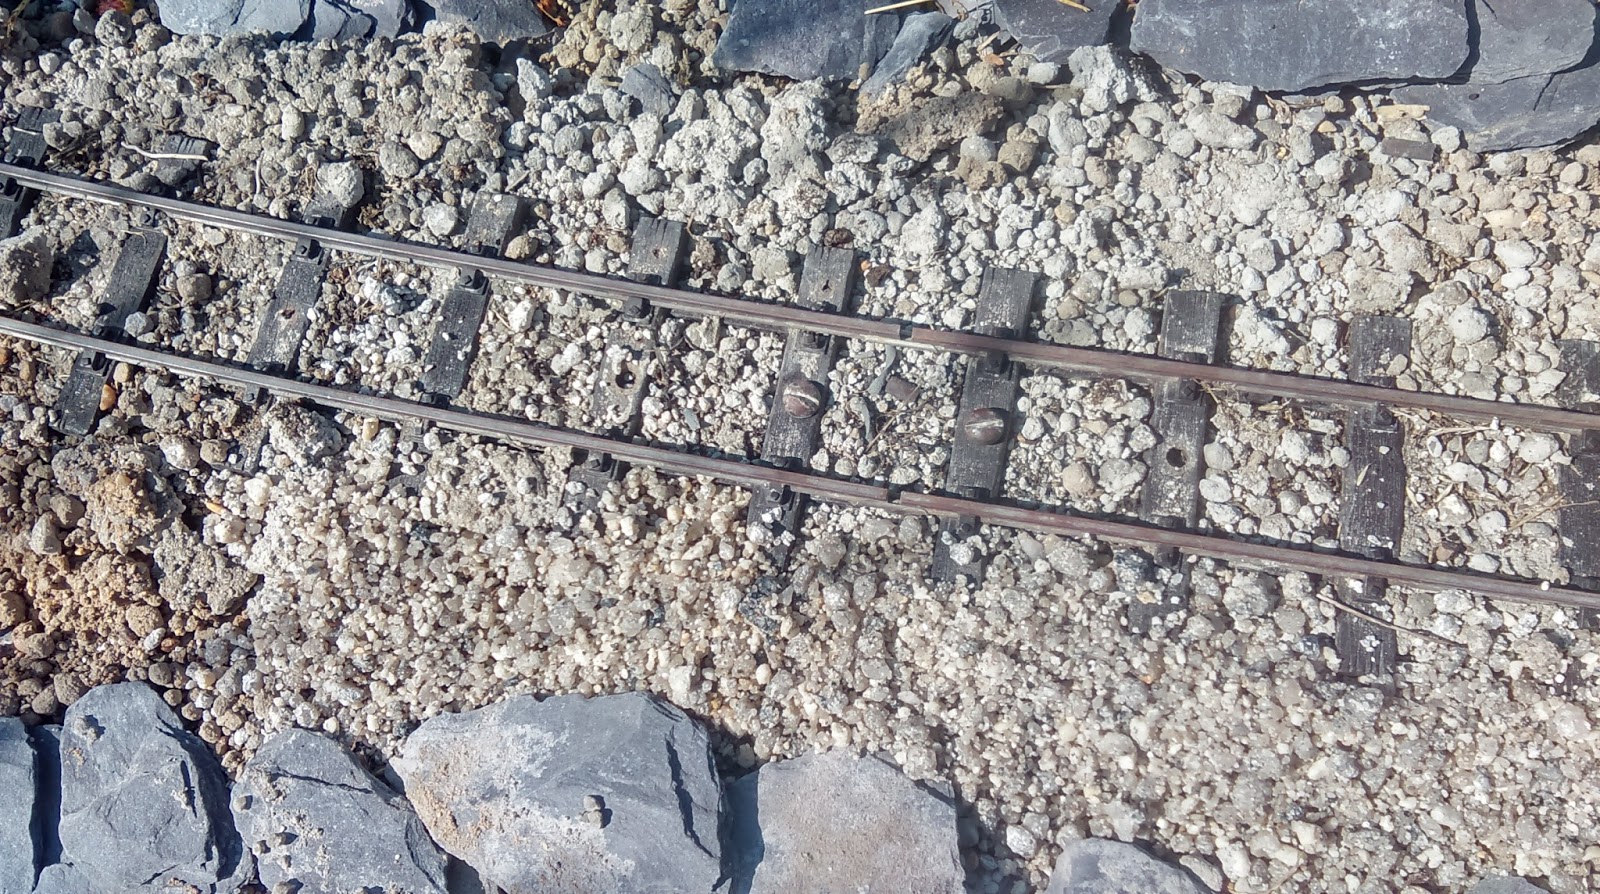 |
| The join is much smoother. |
HGLW Loco Kit
I purchased a loco body kit and one of their new deluxe chassis from Houston Gate Locomotive Works, the build was quick and easy.
 |
| The chassis as supplied |
 |
| All parts were separated from the sprues. |
 |
| The chassis is assembled |
 |
| Ready for the wheels to be added. |
 |
| The wheels and drive system are loosely fitted. |
 |
| Now the axle boxes are built up |
 |
| Ready for fitting |
 |
| They are now on the chassis |
 |
| Once the glue had dried a lash up to test it was fitted. It ran fine. |
 |
| All ready to go. |
 |
| Now for the body. |
 |
| The bonnet end is put together. |
 |
| Whilst that was drying the chassis got a coat of matt black. |
 |
| The front end is complete |
 |
| Now for the cab |
 |
| All ready for paint once the sanding sealer has dried. |
 |
| The first coat of gloss black is applied |
 |
| The maker of the kit suggested painting the brake gear to make it stand out. |
HGLW Van Kits
I purchased 2 Van kits from Houston Gate Locomotive Works, the build was quick and easy.
 |
| The chassis of the vans were quick to build. |
 |
| The bodies are slightly more involved. Starting with the roof supports. |
 |
| Ready for fitting. |
 |
| The axle boxes are a nice simple construction. |
 |
| Ready for fitting. |
 |
| The chassis, floor, roof support and axle boxes ready for the next step. |
 |
| The body is a basic box built around the base with roof struts. elastic bands were used to keep its shape. |
 |
| The axle boxes are fitted with the wheels sets put in place. |
 |
| The hinges and locks ready to be finished. |
 |
| The roof in place and drying using a HGLW roof jig. |
 |
| The chassis ready for paint |
 |
| Paint going on the hinges, |
 |
| The chassis ready for the body. |
 |
| The body with the paint going on. |
 |
| With the body painted the hinges and locks are fitted. |
 |
| The bodies are fitted to the chassis. |
 |
| A quick test run. |
 |
| The model finally finished. |
Flat Wagons
I purchased a couple of flat wagon kits from E-Bay. this was done on chance as I had no idea what they were like, I was not disappointed as they turned out to be excellent. |
| The two kits. Nicely cut out wooden sections plus transparent perspex underframe |
 |
| The perspex sections are glued in place |
 |
| The grooved tops are then added, already looking like wagons |
 |
| The axles are put in place |
 |
| Wheels are a simple press fit |
 |
| Running gear complete |
 |
| The false axleboxes and side frames are glued in place. |
 |
| The coupling hooks are put in place. The tie down eyes will be added later when I have decided on a load. |
 |
| Complete and ready for paint |
 |
| The black is added |
 |
| Followed by a light brown for the load surface |
 |
| The wagons complete. |
 |
| A quick test run showed they were smooth runners. |
Gunpowder Van
I purchased a small wooden jewelry box that is just about the right size to use it as a basis of a gunpowder van.
The end locks and hinges will need to be added as well as rivet heads once I order them.
 |
| The box with the lid glued shut and the hinges and lock removed and holes plugged. |
 |
| The strapping is made from plasticard and a section is seen here being glued in place. |
No comments:
Post a Comment