Monday 30 December 2013

Christmas Presents

A quick post to show you what i got for christmas. They are a displacement lubricator for the mamod plus new buffer beams and centre couplings. Also a gas powered soldering iron and an IP Engineering railcar. Loits of things to be getting on with before railway construction starts again.

Sunday 15 December 2013

Striping down the Mamod

The front end of the Mamod has been dismantled to allow the fitment of the displacement lubricator and a new exhaust steam pipe which will exit steam via the chimney. The work to complete this will not happen until over the Christmas period as the parts are part of my present from the Mother in Law. Part of the pack includes new buffer beams and couplings. I am not sure if the buffer beams will fit but the couplings will still go on even if I have to use the original beams.
The Mamod with the front and rear buffer beams removed plus the gas tank.

The front footplate has been removed by drilling out the rivets, nuts and bolts will be used to refit it. The reversing block and the cylinders have also been removed.

The cylinder mounting area showing the green gasket with the steam ways to the cylinders

An underside view. The copper pipe is the steam feed from the regulator. It will need to be shortened to fit the lubricator. 

Wednesday 4 December 2013

Quick update

Just a quick update.

I have not done any modelling as my workshop is freezing cold and not suitable for use without heating. To that end I have purchased all the parts for a very cheep little room heater as explained in the following video. http://www.youtube.com/watch?v=brHqBcZqNzE.
I will document how well it works.

I have just received a parcel from Dream Steam containing a new displacement lubricator, steam oil and a new set of multi height couplings and buffer beams for the Mamod. Unfortunately they are a Christmas gift from the Mother-in-Law so I have 3 weeks to wait before contemplating fitting the to the loco. If the room heater works then the job of stripping down the loco and replacing the pop rivets with nuts and bolts should continue next week.

Saturday 16 November 2013

First steaming of Mamod

On Thursday I tried out the Mamod for the first time and it worked fine. Lots of steam, due to the cold weather, and it ran for 25 minutes so I am very happy.
The loco sitting on blocks ready for its test run

The gas tank is filled and fitted

The boiler is filled and the loco is oiled all round

After a few minutes warm up, away she goes

Running like a goodun
Now it is time to start a few modifications. I aim to add a displacement lubricator plus a longer steam outlet which will feed into the false chimney. Other jobs will be fitting a driver (I got two of them with the loco) plus adding name and number plates. Plenty of work for the winter months

Wednesday 30 October 2013

Steam comes to Merrytwit

My latest locomotive was delivered today, a Mamod 1351 in unused condition with a couple of driver figures thrown in. I havnt yet been able to run it (no gas) but hope to do so very soon.
My new loco that will eventually be number 3 and named 'Jane'

Saturday 26 October 2013

Another one bites the dust

I have now finished the Fendyke open wagon and have started on the next kit, a van. I had already made a start on it years ago so hopefully it will get finished soon. I have also found a couple of Slaters kits that I partly completed but which need couplings and painting.

Open wagon complete and ready for service

Van kit with semi completed sides

These need finishing, plus I need to buy another bolster wagon.

Friday 18 October 2013

Fendyke Wagon Progress

My two Fendyke wagons are coming along nicely. A recent delivery of parts from Brandbright has seen couplings added to the open wagon. A small amount of painting and a load for the open wagon still nedds to be done olus lettering and numbering, then they will be ready for service and I can get on with the van kit.

The covered wagon with its hinge detail painted.

The open wagon with its nice new coupling

Friday 4 October 2013

Its raining, lets make trains

More progress has been made on the open truck with the addition of hinge and lock detail. The same thing has been done on the covered wagon.

The wagons with detail added. Now just need to paint them.
Another of the Mr Jigstones kits has also been completed

The ice cream stall complete with umbrella and ice cream cones
I hope to get the station base ready for track sometime next weekend. My plans have been thwarted just recently by the weather and a distinct lack of cash!

Sunday 29 September 2013

Station base progress

I have had a nice 4 day weekend and I have been able to get the rest of the concrete into the station base. I now need a layer of fine cement mix to finish off to allow me to drill into it. I am toying with the ised of putting down wooden batons to fix the rail down but will decide tomorrow.

Concrete down and covered up to protect it from any overnight rain.
I have also started building some card kits that I downloaded from the website of Peter Chandler (mrjigstones.webs.com). they are for a market scene and have proved to be easy to build if a little time consuming. Obviously being made of thin card they are not suitable for leaving outdoors but will hopefully make a nice scenic feature when I have open days/running sessions.

The first of the market stalls. The boxes, fruit and veg & posters still need to be fitted.

Sunday 22 September 2013

Truck build progress

The open truck is now structural y complete with just the hinge and lock detail to be added.

The instructions say to use sanding sealer on the bare wood but I cannot find this in any DIY shop so will probably resort to using normal wood primer before applying the paint.

All that will be left once this is done is to add couplings which I will order off the internet.

The wagon completed with just details, paint and couplings to go.
I have now started on the van kit. I had previously done some work on this so not starting completely from scratch.


The van kit with the side drying under the weight.

Thursday 19 September 2013

Building a 16 year old kit

Whilst sorting out my shed contents including some very dusty boxes, I came across several un-made Fendyke kits that I have just realised are at least 16 years old.
I have started my way through building them starting with an open wagon and it is going together quite nicely.
My work bench with the sides of the wagon under weights to help them set. Note the dolls house tables found in the same box as the truck kits.
I have everything apart from couplings which I will order tomorrow.

The body completed

The chassis rails in place with just the axle boxes and wheels to fit.
I must say that it is probably a personal record for the longest time between buying a kit and building it, and I still have three others to build!

Thursday 12 September 2013

Thoughts of a Railway Builder

My desire to own a model railway started whilst playing with my Fathers Triang equipment in the living room of our flat in North London. Watching Princess Elizabeth charge around a large oval of track trailing 6 maroon MK1 coaches is something I will never forget. To me it was poetry in motion.

Every Christmas and Birthday I would ask for my own train set but my parents were not well off and the call went unanswered until I was about 10 years old and on Christmas morning I opened a large box to find a model of Britannia complete with 2 coaches and an oval of track.

That set saw some use in the few years I had it. Unfortunately when my room was decorated whilst I was in Spain when I was 19 the loco and coaches were accidentally thrown in the rubbish and my fledgling layout, actually a shelf on my bedroom wall, was also thrown away.

It was not until after I was married that I finally started an N gauge layout, spurred on by my Boss at British telecom whose layout I helped operate at exhibitions, and found room for it in our first home.

The end of that layout was the birth of my daughter and the need for the spare room to become hers. The layout was bundled into the loft and, as far as I know, it is still there. The stock was all sold off and now there were several years when I did nothing related to model railways mainly due to bringing up two daughters.

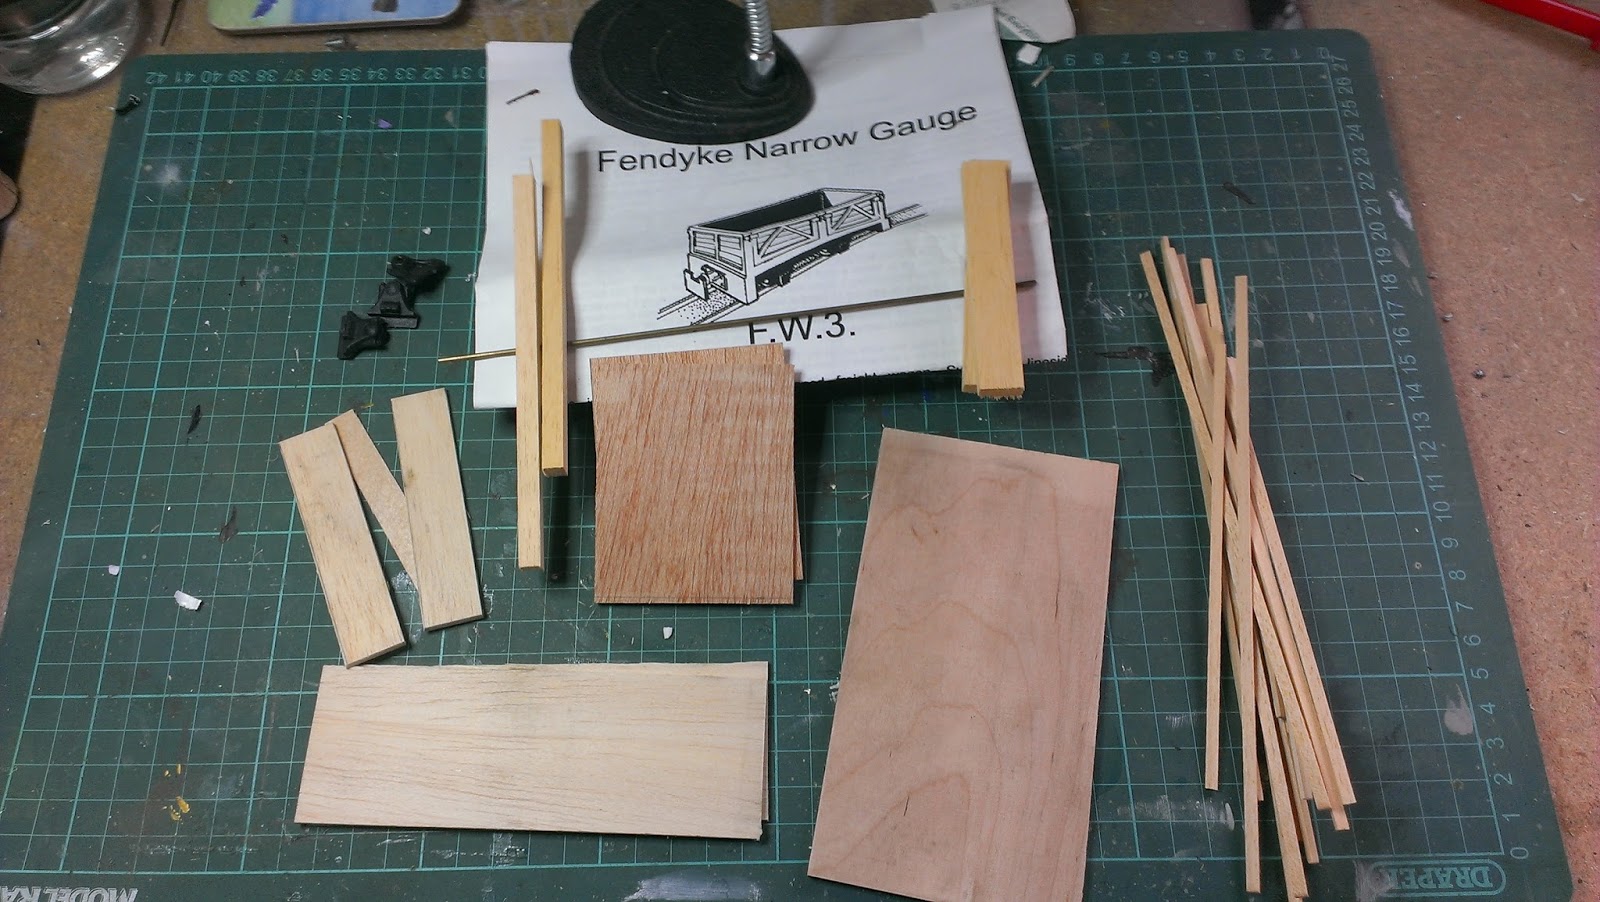
It was about 13 years ago that we moved into our present home and I wasted no time in building a 16mm gauge line in the back garden.
The original Merrytwit Light Railway
 This lasted a few years and saw sporadic use. It was eventually removed are replaced by a OO gauge line called the Sitton Watchet railway.
Sitton Watchet Railway freshly completed.
This line lasted several years but stayed the same double track loop despite plans to extend it.

It lasted until spring 2013 when rot and water damage rendered it unusable without rather extensive repairs. I considered this and finally decided to go back to 16mm scale and also to build something more substantial that would also blend in with the garden. So Merrytwit Light Railway MK 2 was started.

So far, due to a beautiful summer that saw us out and about, lack of money and little time has ensured that progress is painfully slow. Currently I have a pit built of blocks half full of concrete plus a lot of ideas.

Hopefully the current spell of wet weather will break and I will be able to get the station area (the aforementioned block pit) completed and track down with the rest of the line following soon after. I would like to at least get a working loop up and going before my 50th birthday in April.

Oh well, back to dreaming again.

Monday 2 September 2013

Let there be light

Interior lights have now been added to the station building with just the second exterior light to complete and fit, hopefully sometime this week.

The lights should look better out in the garden after dark.

Sunday 1 September 2013

Some progress

Over the weekend I have made some progress, the first concrete has been poured into the station base and I have fitted one lamp on the station building with the other now being constructed. I hope to get a bit more concrete in next weekend as I have run out of materials and money!

The concrete is going in!

Lamp fitted to the station building

and it works!

Thursday 22 August 2013

Rainy day

The weather has been rotten today so all diy in the garden has stopped. Gave me time to do a few modeling jobs instead.

The bench completed and ready for action

One of the lamps almost ready to be fitted to the station building. The other one is also being built.

Warning sign ready for use.

Wednesday 21 August 2013

Working on the Details

As well as DIYing in the garden I have found time to work on the goodies I got a week or so ago. The Beware of the Trains sign and the post box are both now complete with the post box affixed to the inside of the station buildings waiting area.
The bench is almost ready to be glued together, a job I hope to do tomorrow, and the fisrt of the station lamps is now well under way.

The following pictures show my progress


The parts all with their first coat of paint
The bench support all painted with the GWR highlighted

The beware of the trains sign just needs to be mounted on a post


The post box ready to be mounted to the inner wall of the station building

The post box in place


.

Tuesday 20 August 2013

Station Progress

I have finally finished building the block base to the station and have put a layer of earth in the bottom to even it up. Once tamped down a layer of hardcore will be added followed by a few bags of sub base to give a nice level surface ready for concrete.

The base wall ready for infilling with hardcore and concrete.

Friday 16 August 2013

Goodies in the post

Got some new things for the railway today, all for the station area. They are:

From AnDel Models a station bench

Another AnDel product, a nice neat Beware of Trains sign

An AnDel post box to go inside the waiting area of the station building

A Brandbright working station wall lamp. I have two of them and they will be fitted on either end of the station building to illuminate the platform. Bulbs will also be put inside the building all powered from batteries in the office area.
So I now have a lot to be getting on with if the weather is bad

Tuesday 13 August 2013

New video added

A new video taken in July of this year at the North Bay Railway in Scarborough has been added to the video page.

Sunday 11 August 2013

Progress on the station

Today I started mortaring the blocks into place. My bricklaying skills are awful but hopefully they will stay in place.

Dont look too close. They are level but not completely in line!

Saturday 10 August 2013

Fendyke Kits

The kit for a small van wagon. Got everything but the couplings

and what it should look like

The brake van kit. I show it here with axle boxes and wheels but I might just convert this to a tram engine with a powered chassis.

What the brake van should look like

A small open wagon. This may use the wheels and axleboxes from the brake van

And finally, what the open truck should look like
All the models will give me something to do when the weather gets rotten plus I still have several plastic models to complete.