A review of work required on the line for the new season.
Some nice weather allowed me to get out and see what work needed doing on the railway. |
| The path bridge needs another coat of creosote plus the addition of some hand rails and some more tacks to flatten the wood out. |
 |
| Birds and cats digging in the garden have covered the track with earth. A bit of cleaning up and ballasting will happen soon. |
 |
| The frost has cracked the mortar on one of the blocks which will need to be fixed. |
 |
| The trestle bridge has stood up well and will only need a fresh coat of creosote. |
 |
| I need to shift the track in the station about to give me room for the engine shed to fit. Laying out points and track to see what will fit |
 |
| Track has been lifted ready for the revised layout. |
 |
| Getting there, layout almost worked out. |
 |
| Track going back down, the pointwork first. |
 |
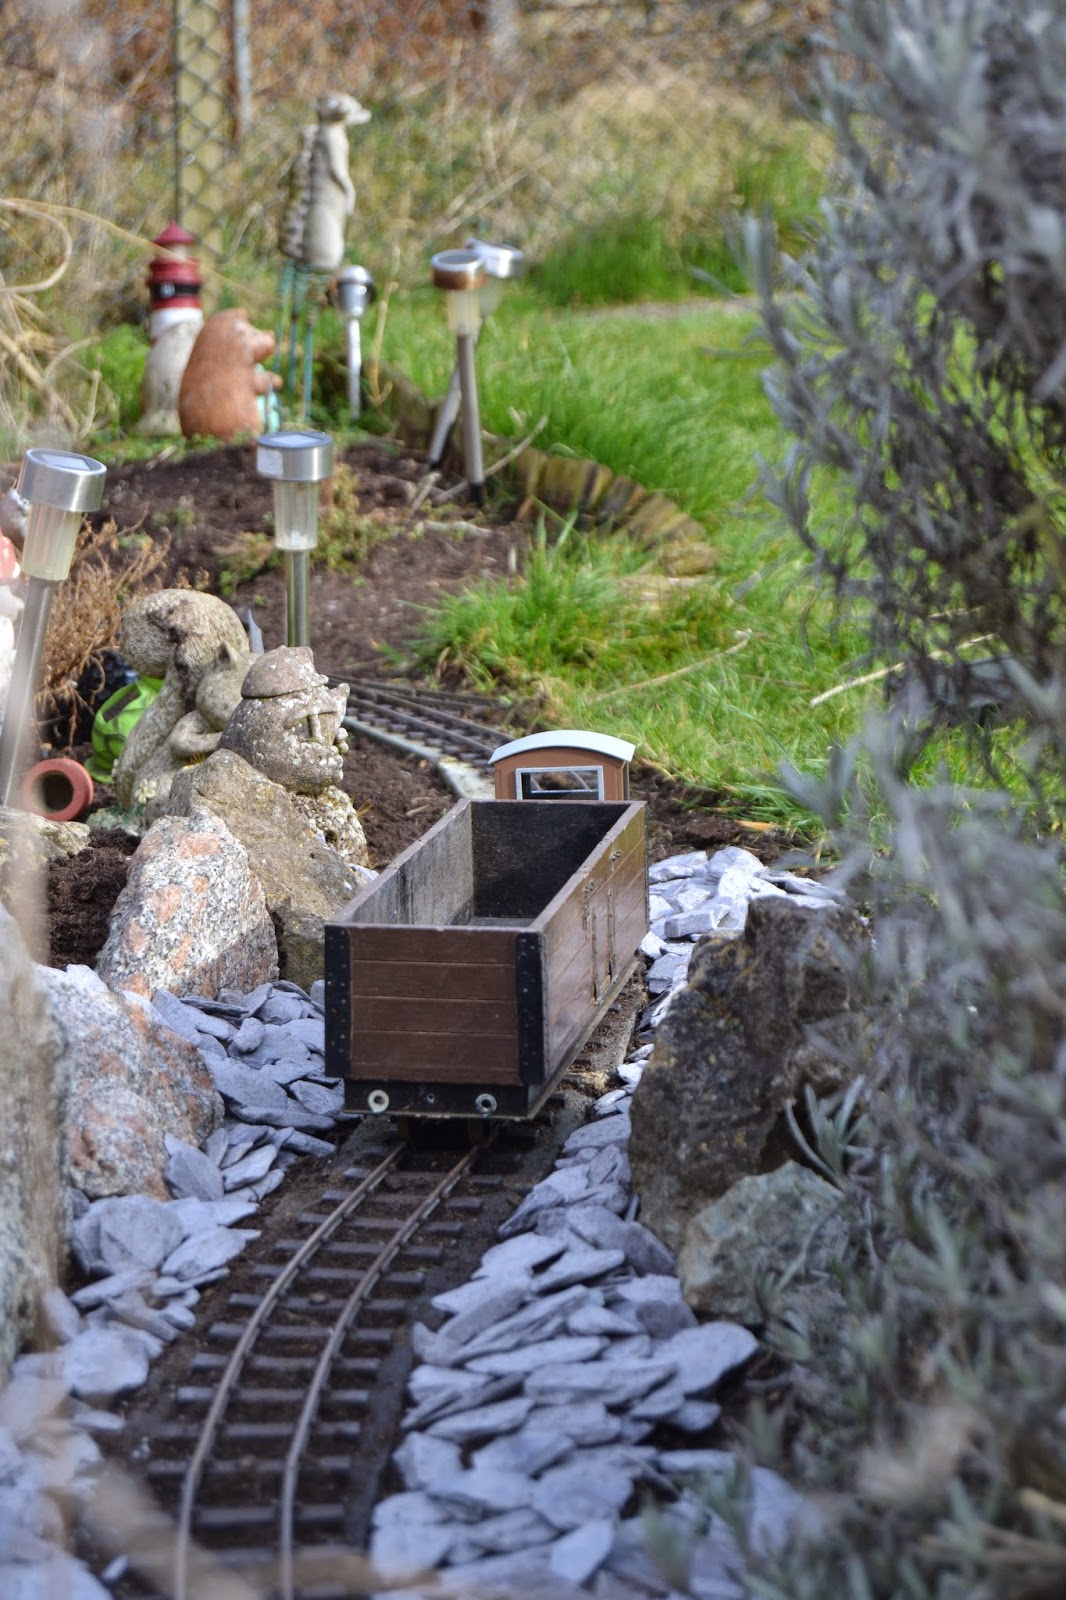
| Points down and joining track in place, Fenor and open trucks being used to check clearance and joints. |
 |
| The fenor on a works train |
 |
| Track all down with buildings in place to check clearances |
 |
| Plenty of room around the engine shed |
 |
| A view of the Fenor at the coaling stage |
 |
| Posed on the trestle |
 |
| On putting it all away I found that the open wagons fit snuggly into the open bogie wagon |
Loco and rolling stock work
I have done some work on rolling stock to try and get as much as possible ready for use.
 |
| I finally got round to fitting the lubricator to the Mamod ready for a test run. |
 |
| It was given a run on the blocks |
 |
| After a false start (I cross threaded the cap and lost steam pressure out of it) the loco run. |
Unfortunately the Mamod didnt run very well. The lubricator steam to work but the wheels appear to have a sticky point. Needs some more work.
 |
| The bogie wagon derailed during a test run through the new station track layout. It was down to a wheel set coming out of its bearings |
 |
| To fix it the bogies were removed.... |
 |
| ...and stripped down. |
 |
| One of the bogies has a simple form of compensation with springs rubbing on two copper plates. They were cleaned up and re fitted. |
 |
| All back together again. Just needs couplings |
 |
| It was given a test run using the steeple cab to push it round |
 |
| Its a big truck |
 |
| The steeple cab easily fits inside it. |
A short operating session
Once I had a bit of stock out I decided to have a bit of a play.
 |
| The steeple cab on a freight service |
 |
| The freight pauses in the station to let the passenger train go |
 |
| No. 1 pulls across the trestle on her first loop |
 |
| A nice sunny late winter day gives some nice shadows |
 |
| The garden looks a bit bare |
Work on the railway.
 |
| I have started ballasting the railway using small granite chips mixed with cement. It works quite well |
 |
| The hole at the end of the station area is filled to allow the platform edge to be layed. |
 |
| The platform edge in place and checked for clearance |
 |
| Stuck down using mastic the edge consists of a section of aerated block with slate slabs on the top |
Going green
 |
| The railway is now supplied with a free 12 volts of electricity supplied by the sun as a solar panel was fitted to the shed wall. |
 |
| The solar panel charges a caravan leisure battery via this charger circuit. The fused output goes into the box on the left which will house the circuitry and switches as outputs are added. |
New stock and modifications
 |
| The Swift Sixteen coaches are slowly coming together with the interiors painted. |
 |
| The bodies have also had their coat of green paint and a coat of black on the underframes. |
 |
| Work on the cardboard flat car started and the parts were rapidly cut out |
 |
| They were soon glued together into a surprisingly strong vehicle body |
 |
| Its not the biggest model as comparison with this HGLW flat truck shows. |
 |
| The steeple cab received an exhaust pipe and silencer. |
 |
| A coat of silver and its ready for service. |
DIY Stone Walls
To finish off the back of the station platform I decided to add a stone wall. Pre cast versions are not cheap so I decided to have a go at making my own from aerated concrete block sections. A test wall was created to try out the idea.
 |
| All you need to cut the block is an old wood saw |
 |
| Once cut out and the top edge was rounded over and the block work scribed in with a screwdriver. |
 |
| Tried out on the platform and I like it. |
 |
| A coat of masonry paint was added to be followed later by other colours to add some weathering. |
No comments:
Post a Comment