Thursday, 29 October 2015
New Page added
I have added a new page to this blog detailing the lines characters including passengers, staff and residents. Just click on the characters tab at the right hand side of the page.

Thursday, 15 October 2015
September Update
September has seen less work being done in the workshop due to lots of DIY and family business. The IP Railcars have had lots of work done on them and will hopefully be in service soon.
IP Railcars
Work to be done on the Railcars includes the interior and the control system.
 |
| The seats have gained a coat of red paint |
 |
| The floor in the power car has had its coat of grey paint, the other floor will soon be cut out and painted. |
 |
| The seats fixed in place. |
 |
| The drivers cab dividers are under construction. the glazing will be sandwiched between them. |
 |
| The control panel's have received their control arms. |
 |
| The seat back rests are held in place whilst they dry. |
 |
| Work being done on the control system. |
 |
| The edges of the cab dividers are tidied up using wood strip. |
 |
| The dividers ready for painting. |
Fendyke Brake Van
This model is nearly complete and just needs me to order the couplings for it and add the handles and hand rails.
 |
| The step boards are fabricated from some scrap wood strip. |
 |
| The step boards fitted and ready for painting. |
 |
| All painted with just couplings and handrails to add. |
Critter
More paint has gone on the Critter and now thoughts turn to how to power it.
 |
| The chevrons on the buffer beams are complete. |
Other Jobs...
 |
| A water top-up bottle has been purchased for the Brunel. |
 |
| A multi-tool for use with my steam locos. |
 |
| A tidy up in the workshop plus this new shelf to hold my paints. |
Friday, 18 September 2015
August Update
Several projects have been completed this month and a couple of sessions operating the line have also happened. Weather and work have got in the way and running on the line has been at a minimum. Hopefully we will have an Indian Summer and I will get to play trains a bit more.

Houston Gate Locomotive No. 8
The new loco has been completed to operating condition although more detail and a remote control system will be added later.
 |
| The body is complete apart from its roof |
 |
| The chassis is fitted and the loco gets a test run |
 |
| The roof going on |
 |
| Ready for paint which was initially grey |
 |
| I didnt like the grey roof so I masked up the loco and sprayed the roof black to match the body. |
 |
| With the window glass and surrounds in place the loco is now ready for service. |
 |
| Another test run with the new van's shows that the loco is smooth and runs well. |
Fenor Type Locomotive no. 7
This freelance locomotive is slowly coming together although it tends to get pushed to one side when other jobs fill up the workbench.
 |
| The 4 wheel drive Andel chassis has been fitted and is getting a test run with my usual lash up. |
 |
| The underframe and buffer beams are going on. |
 |
| More underframe parts are added. I am not sure if I like it. |
Fendyke Brake Van Kit
The kit is rapidly taking shape and will hopefully be in service very soon.
 |
| The main body is complete and ready for paint |
 |
| The body colour is on and its looking good |
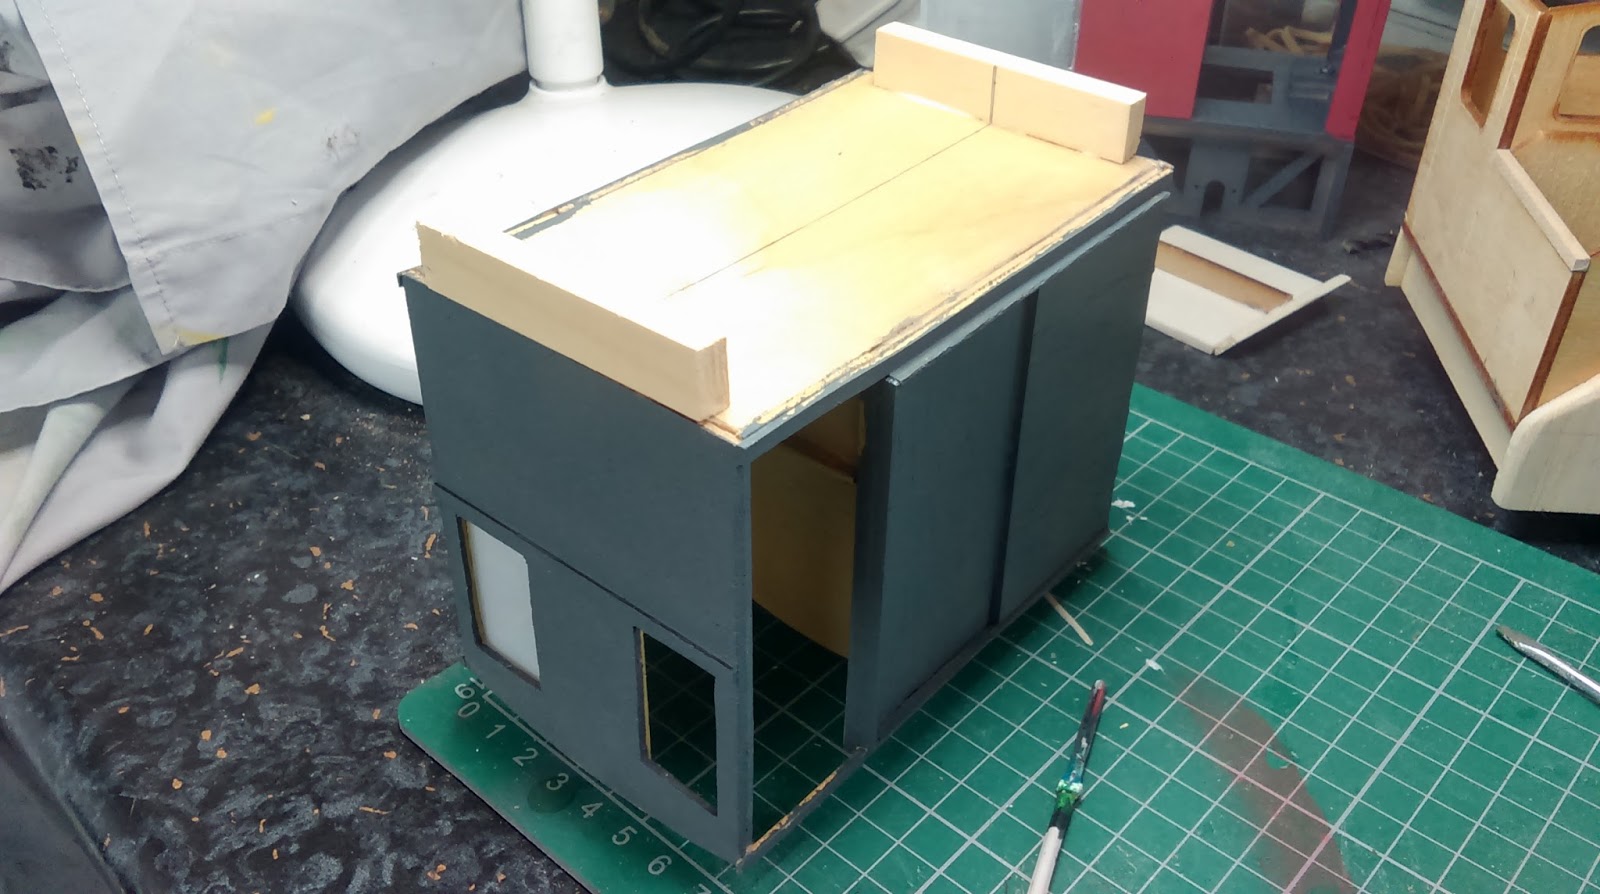 |
| The underframe is taking shape. This is where materials I have in my spares box come into play as the parts were not delivered to me before Fendyke went bust. |
 |
| The axle boxes and their support bar goes on. |
'Critter' Locomotive No. 9
This locomotive was created by Mr Bruce Bates of the USA and was originally a 7/8ths model but as it is roughly the right size for 16mm that is what it will be.
 |
| The kit of parts as delivered to me by Houston Gate Locomotive Works to a pattern supplied by Bruce Bates. |
 |
| Yet another pile of wood to be coaxed into being a railway locomotive |
 |
| The chassis complete. |
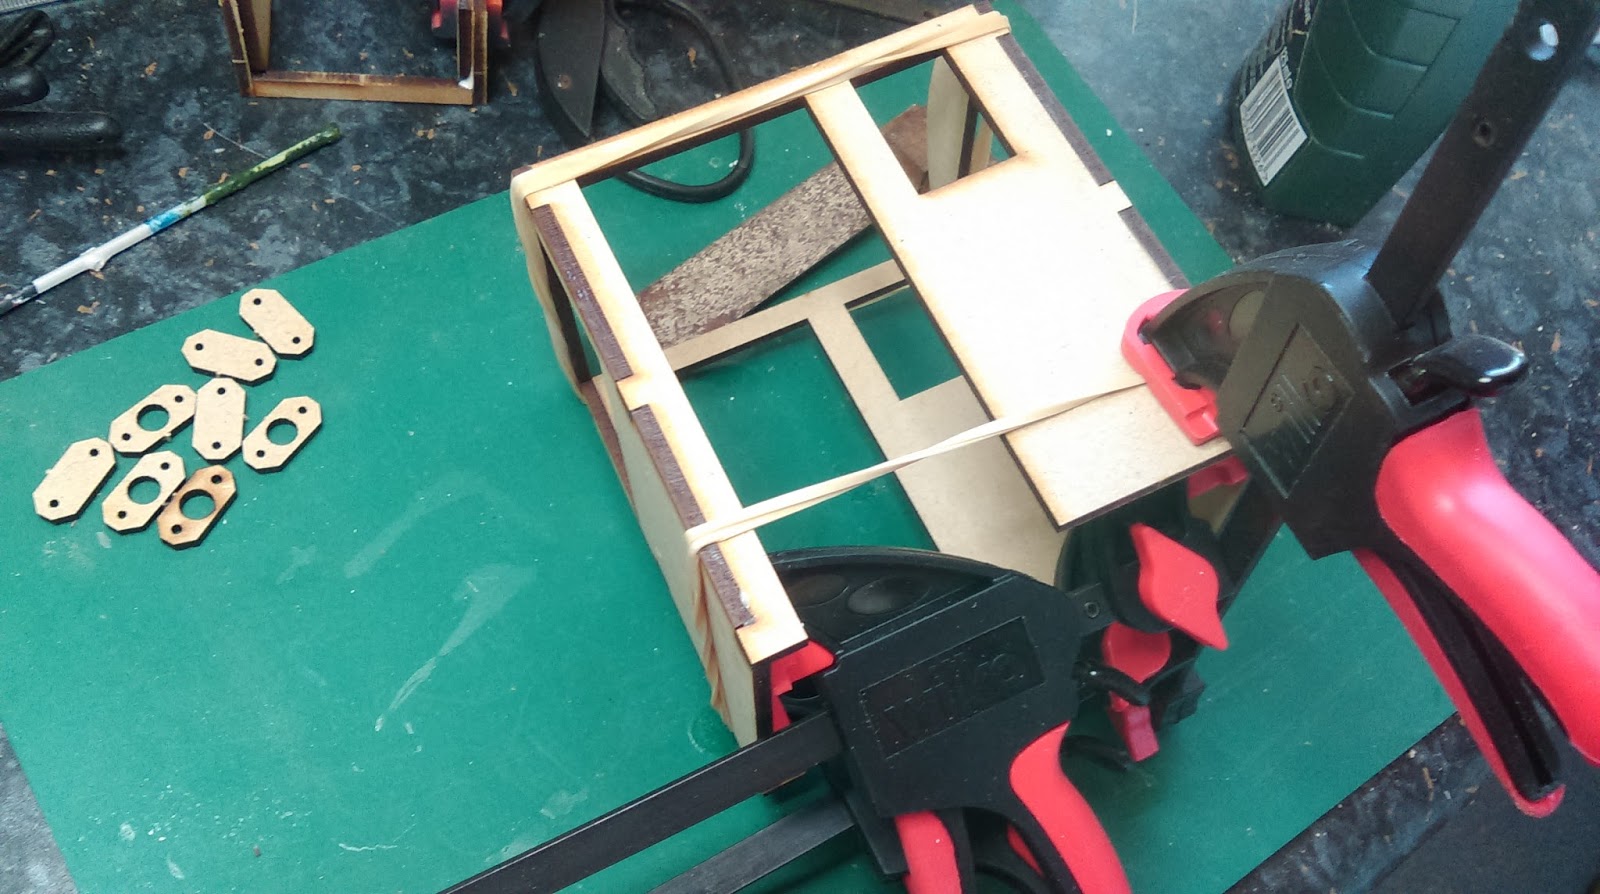 |
| The cab going together |
 |
| Chassis, cab and bonnet all ready for the next phase of creating a bonnet cover and then painting. |
 |
| As you can see the locomotive is big but not stupidly big when compared with a 16mm scale loco. Its an American loco and they always do things bigger :-) |
 |
| The primer goes on |
 |
| The bonnet gets its silver finish |
 |
| A smart red for the cab and a black underframe |
 |
| The buffer beams are painted white and then masked to receive the red stripes |
 |
| Once the red is dry the masking tape will be removed. |
 |
| One end done, now for the other one. |
Father Christmas
To go with the Sleigh built last Christmas I purchased an unpainted Santa figure from Houston Gate to go with it. |
| The figure as supplied |
 |
| First the red goes on. I was going to paint the trousers black but decided to do therm red |
 |
| With the red in place the skin tone for his face is added |
 |
| The black is added along with the white and the buckle painted gold |
 |
| Finished. |
The population
I bought several figures that will make up the start of the population of the line. Painting will start once the current projects are complete.
Other Projects
The IP railcars will be worked on now that several other projects have been completed plus I have had an operating session a video of which is YouTube.
Thursday, 10 September 2015
July Update
This month has seen plenty of progress on models old and new plus a bit of repair work on the railway itself.
Broken Track
For one day in June the temperatures rose above 30 degrees and caused the track to expand, breaking a fishplate. At the start of July I fixed it giving a much smoother ride for the passengers.
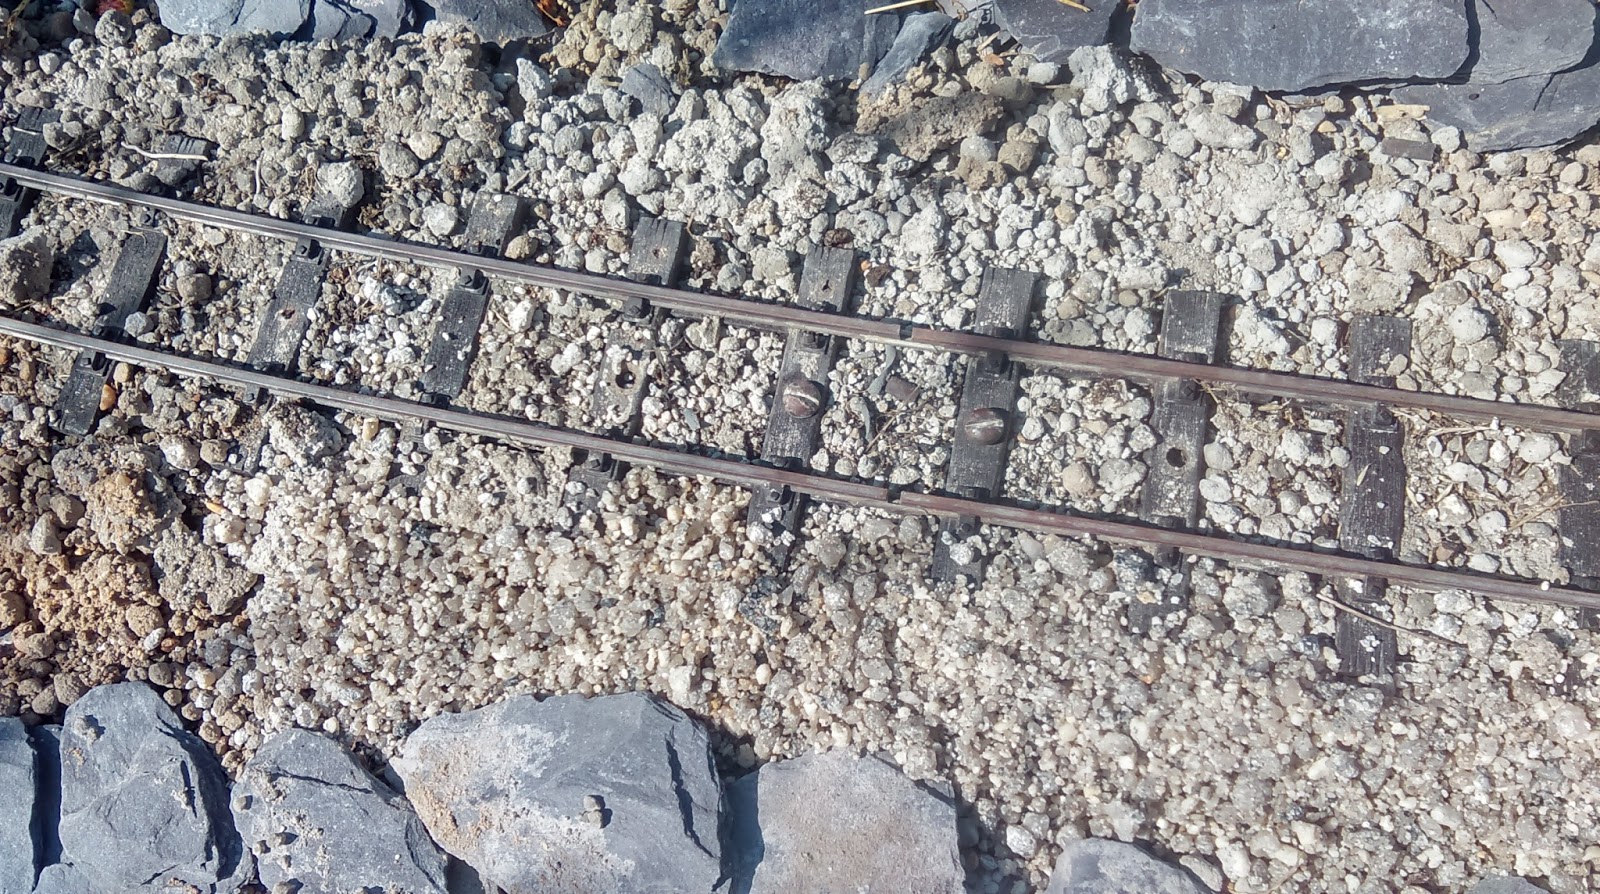 |
| The join is much smoother. |
HGLW Loco Kit
I purchased a loco body kit and one of their new deluxe chassis from Houston Gate Locomotive Works, the build was quick and easy.
 |
| The chassis as supplied |
 |
| All parts were separated from the sprues. |
 |
| The chassis is assembled |
 |
| Ready for the wheels to be added. |
 |
| The wheels and drive system are loosely fitted. |
 |
| Now the axle boxes are built up |
 |
| Ready for fitting |
 |
| They are now on the chassis |
 |
| Once the glue had dried a lash up to test it was fitted. It ran fine. |
 |
| All ready to go. |
 |
| Now for the body. |
 |
| The bonnet end is put together. |
 |
| Whilst that was drying the chassis got a coat of matt black. |
 |
| The front end is complete |
 |
| Now for the cab |
 |
| All ready for paint once the sanding sealer has dried. |
 |
| The first coat of gloss black is applied |
 |
| The maker of the kit suggested painting the brake gear to make it stand out. |
HGLW Van Kits
I purchased 2 Van kits from Houston Gate Locomotive Works, the build was quick and easy.
 |
| The chassis of the vans were quick to build. |
 |
| The bodies are slightly more involved. Starting with the roof supports. |
 |
| Ready for fitting. |
 |
| The axle boxes are a nice simple construction. |
 |
| Ready for fitting. |
 |
| The chassis, floor, roof support and axle boxes ready for the next step. |
 |
| The body is a basic box built around the base with roof struts. elastic bands were used to keep its shape. |
 |
| The axle boxes are fitted with the wheels sets put in place. |
 |
| The hinges and locks ready to be finished. |
 |
| The roof in place and drying using a HGLW roof jig. |
 |
| The chassis ready for paint |
 |
| Paint going on the hinges, |
 |
| The chassis ready for the body. |
 |
| The body with the paint going on. |
 |
| With the body painted the hinges and locks are fitted. |
 |
| The bodies are fitted to the chassis. |
 |
| A quick test run. |
 |
| The model finally finished. |
Flat Wagons
I purchased a couple of flat wagon kits from E-Bay. this was done on chance as I had no idea what they were like, I was not disappointed as they turned out to be excellent. |
| The two kits. Nicely cut out wooden sections plus transparent perspex underframe |
 |
| The perspex sections are glued in place |
 |
| The grooved tops are then added, already looking like wagons |
 |
| The axles are put in place |
 |
| Wheels are a simple press fit |
 |
| Running gear complete |
 |
| The false axleboxes and side frames are glued in place. |
 |
| The coupling hooks are put in place. The tie down eyes will be added later when I have decided on a load. |
 |
| Complete and ready for paint |
 |
| The black is added |
 |
| Followed by a light brown for the load surface |
 |
| The wagons complete. |
 |
| A quick test run showed they were smooth runners. |
Gunpowder Van
I purchased a small wooden jewelry box that is just about the right size to use it as a basis of a gunpowder van.
The end locks and hinges will need to be added as well as rivet heads once I order them.
 |
| The box with the lid glued shut and the hinges and lock removed and holes plugged. |
 |
| The strapping is made from plasticard and a section is seen here being glued in place. |
Subscribe to:
Posts (Atom)